
Learn to knit with the free online Learn to Knit course! This free course covers everything you need to get started, from: casting on, the knit stitch, the purl stitch, knit and purl stitch patterns and binding off. Each lesson is supported by a video tutorial and full instructions are available as a downloadable class sheet.
The videos below also show how to work the knit and purl stitches.
Knit Stitch
In this demonstration I am working the first knit row following a knitted cast on (see Cast On tutorials)
1. With the working yarn held at the back of the work, take the right hand needle and insert it, from left to right, through the front leg of the first stitch on the left hand needle
2. Bring the yarn over the tip of the right hand hand needle, wrapping it from left to right
3. Draw the right hand needle back through the stitch pulling a loop of yarn with it
4. Slide the original stitch off the left hand needle
And that's all there is to it!
Repeat steps 1 - 4 for all stitches on the left hand needle. When you get to the end of the row, swap the needles around so that the stitches you have just knit are now in your left hand.
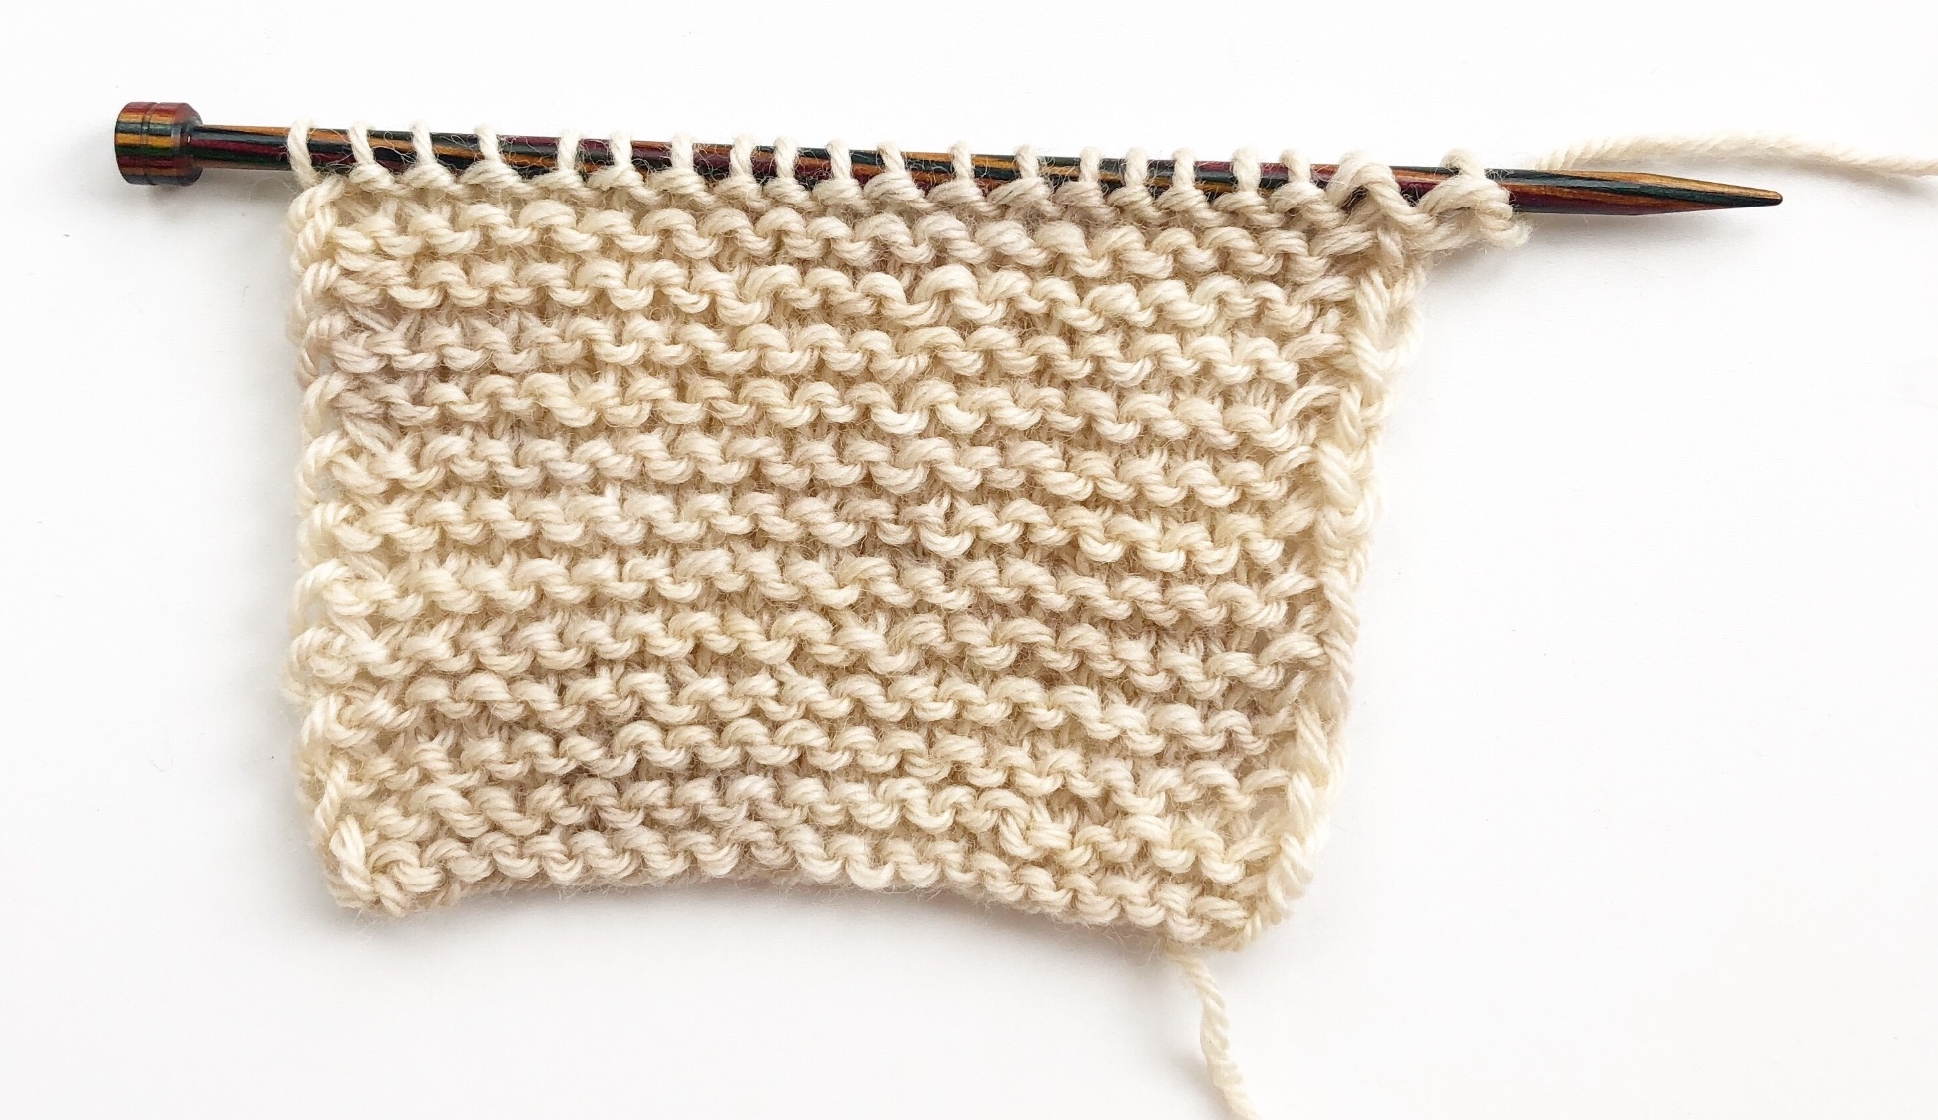
If you knit every row like this you will be knitting Garter Stitch.
Purl Stitch
The purl stitch is worked in the opposite way to the knit stitch and it always begins with the working yarn being held at the front of the work.
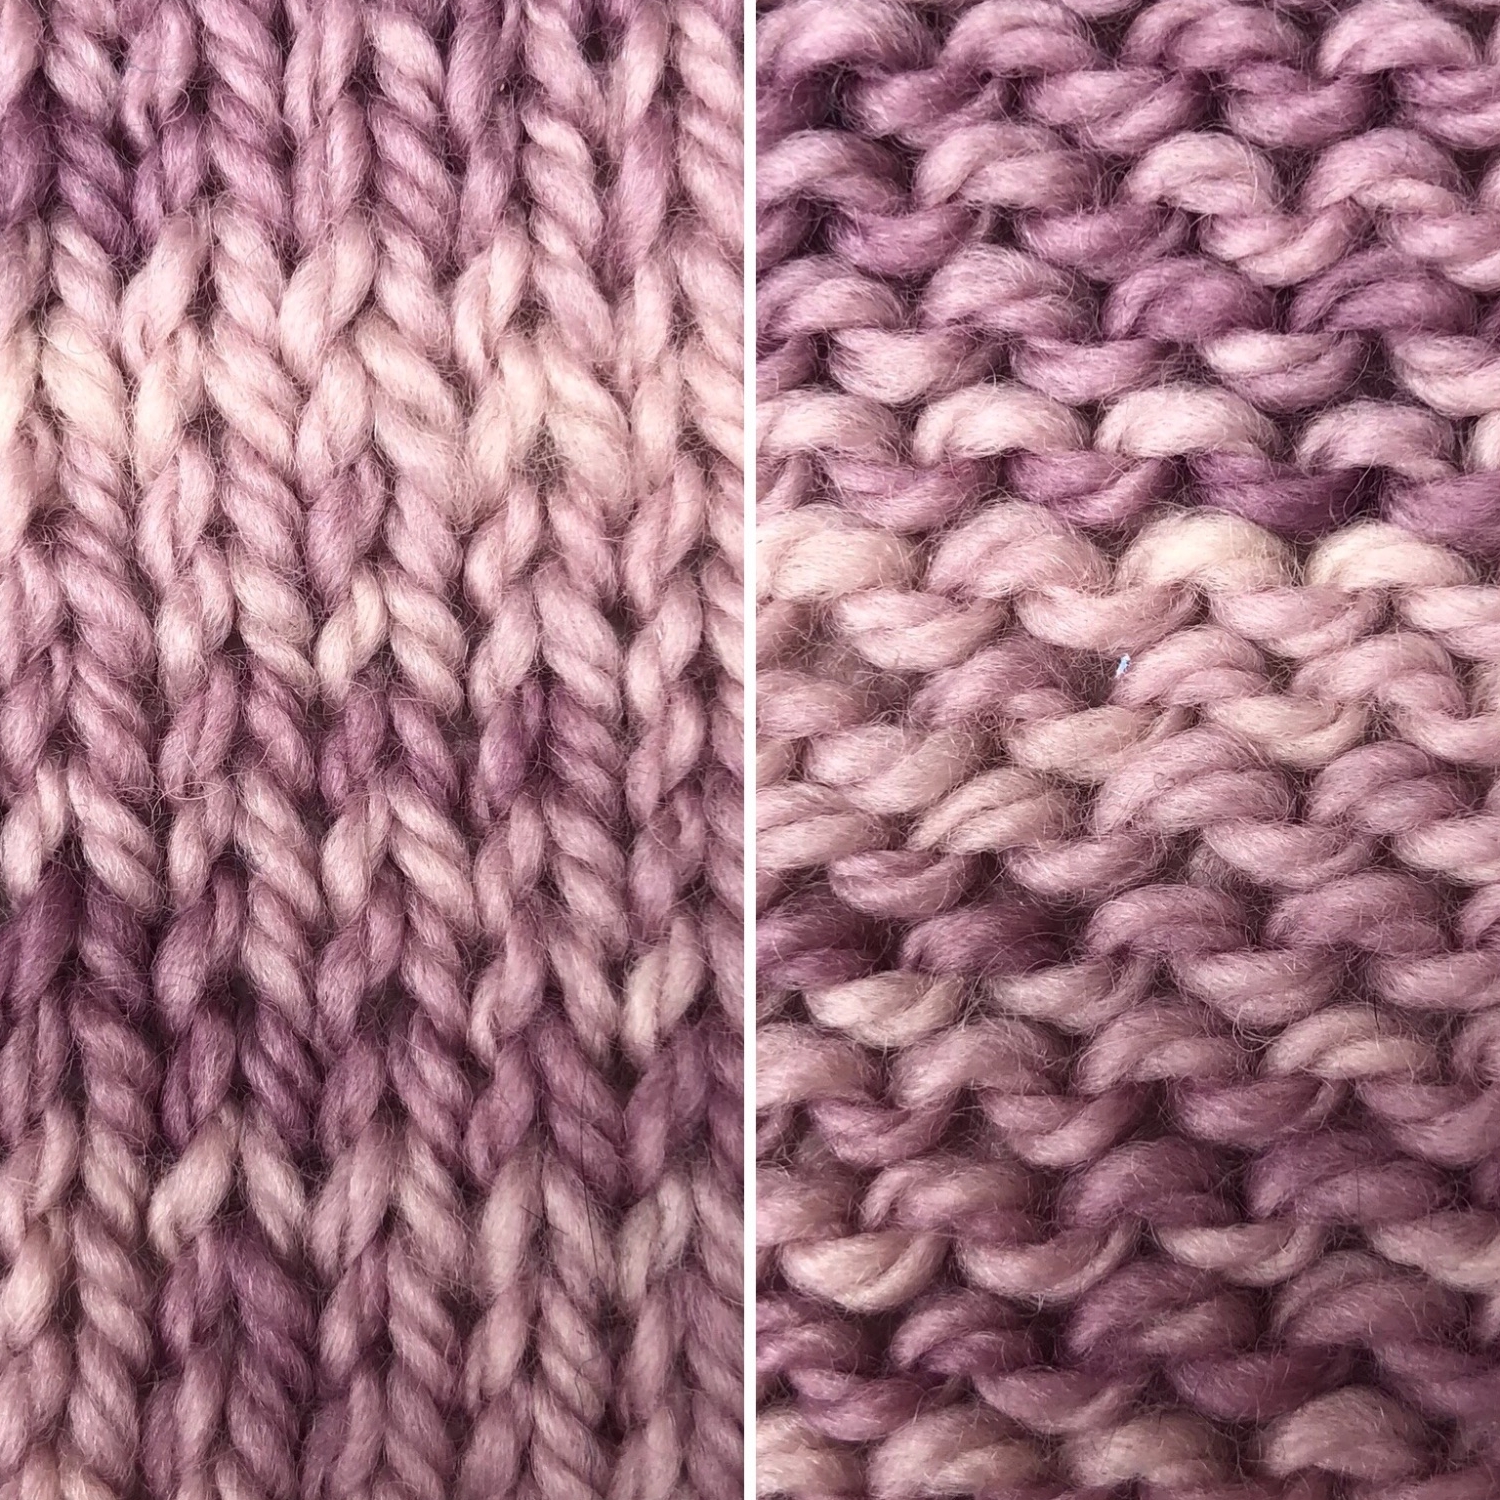
In this demonstration I am working the purl row following a knit row. When you alternate between a knit row and a purl row this is known as Stockinette Stitch.
1. With the working yarn held at the front of the work, take the right hand needle and insert it, from right to left, through the front leg of the first stitch on the left hand needle
2. Bring the yarn over the tip of the right hand hand needle, wrapping it from right to left
3. Draw the right hand needle through the back of the stitch pulling a loop of yarn with it
4. Slide the original stitch off the left hand needle
Repeat steps 1 - 4 for all stitches on the left hand needle.
The image to the right is of Stockinette stitch - the fabric created when you alternate between knit and purl rows.
The left photo shows the right side of stockinette and the right photo shows the wrong side - this side is called Reverse Stockinette and is often used as a background for cables