
On this page you will find tutorials on how to work the following stitch patterns:
- Diamond Lace Stitch Pattern - used in the Diamond Cascade Shawl, Dappled Days Shawl and Diamond Lace Purse (free pattern)
- The Honeybee Stitch - used in the Beekeeper Shawl
- Long Garter Stitch - produces the lovely, elongated knit stitch as used in the Easy Street Shawl
The Diamond Lace Stitch Pattern
This stitch pattern is a great introduction to lace knitting. It's worked over 6 rows, 3 of which are purl rows and the stitches used are k2tog, yo and ssk stitches. In this video I am adding a bead to the centre of the diamond shape too. I also show you some handy tips when it comes to reading lace stitches so that you know you are in the right place when it comes to working the stitches.
The instructions given below are for a swatch worked over 18 sts as per the video

Row 1: K8, k2tog, yo, k8
Row 2: Purl
Row 3: K7, k2tog, yo, Place Bead and knit the next stitch (or just knit the stitch if not using beads), yo, ssk, k6
Row 4: Purl
Row 5: As row 1
Row 6: Purl
The Honeybee Stitch
The Honeybee stitch is a striking and unusual pattern to learn. This stitch is used in the Beekeeper Shawl.
In this sample I am working 4 sts each side of the stitch pattern - written instructions are given for the stitches between the markers.
Note that the stitch pattern is worked over a multiple of 12 sts however the stitch count varies for each row.
Row 1 (RS): K4, k2tog, yo, ssk, k4 (11 sts)
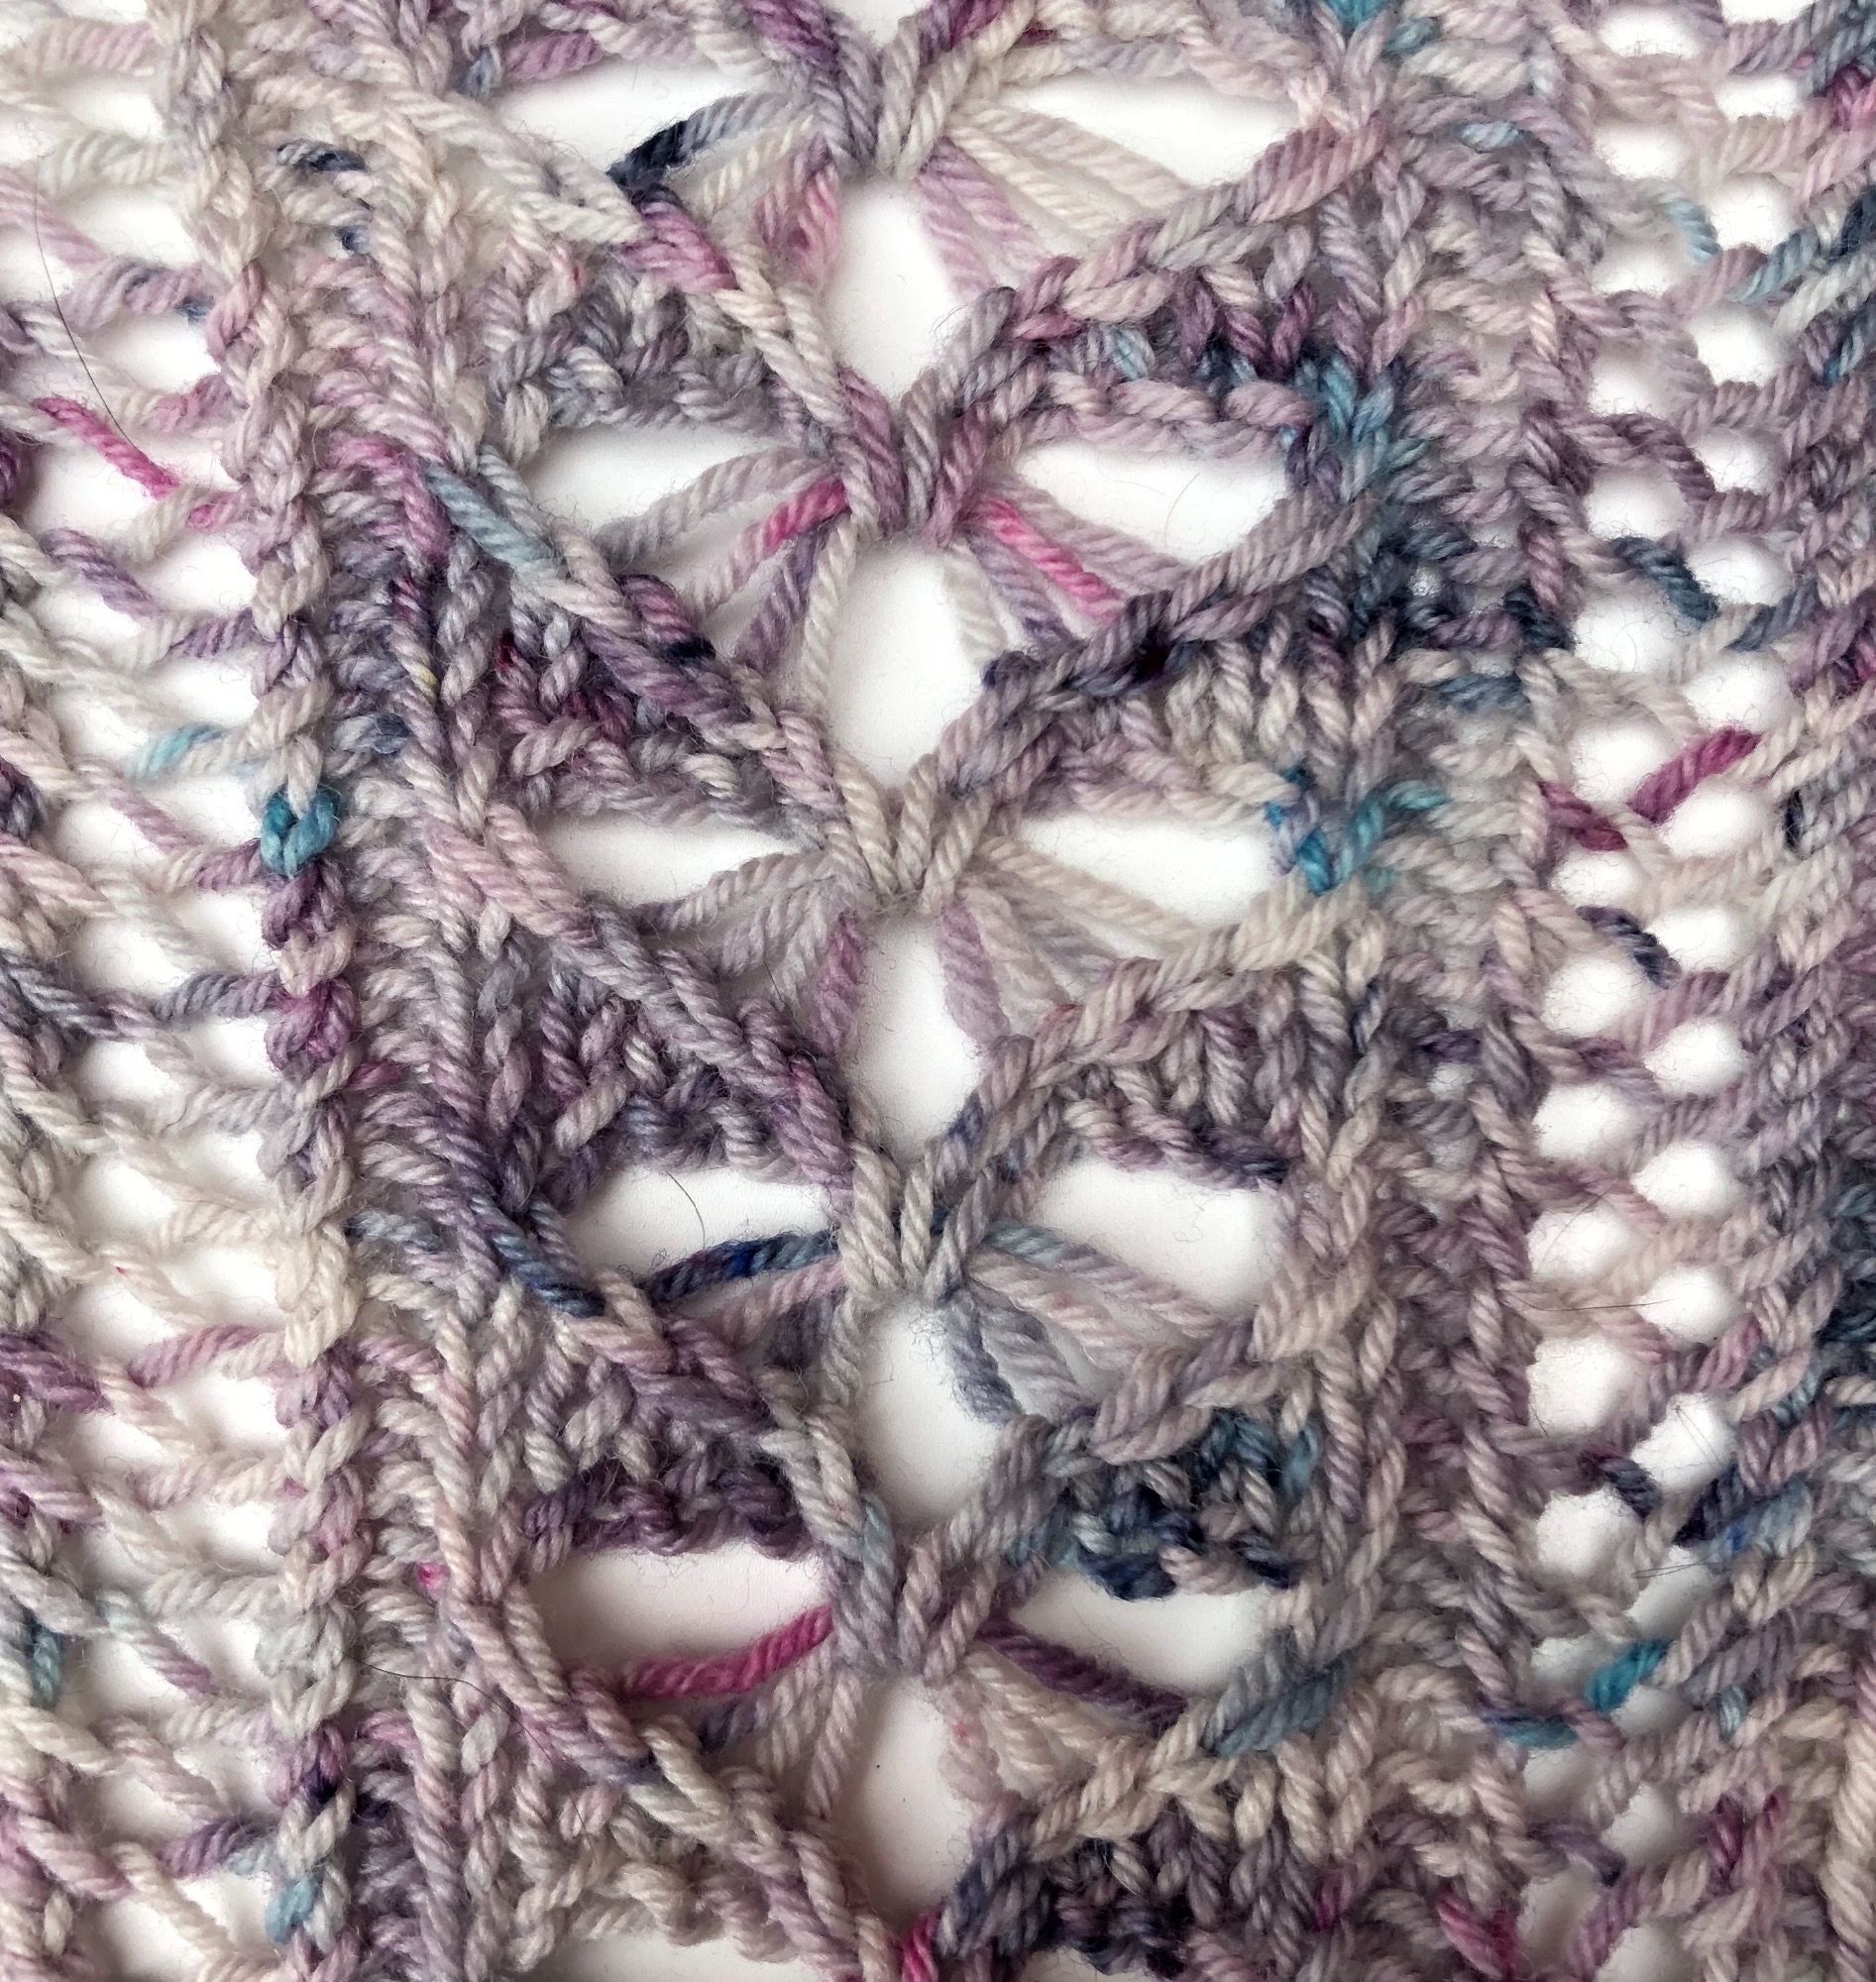
Row 2: P3, p2tog-tbl, drop the yo, yo twice, p2tog, p3 (10 sts)
Row 3: K2, k2tog, drop the yo twice, yo 3 times, ssk, k2 (9 sts)
Row 4: P1, p2tog-tbl, drop the yo 3 times, yo 4 times, p2tog, p1 (8 sts)
Row 5: K2tog, drop yo’s, turn work and cast on 4 sts, turn work back to front side facing and insert the RH needle under the 4 loose strands from front to back, k1 by wrapping the yarn around the needle and pulling a loop through all 4 strands, bring the yarn to the front to yo, insert needle back under the 4 loose strands and k1 by wrapping the yarn around the needle and pulling a loop through all 4 strands, turn work and cast on 4 sts, turn work back to front side facing, ssk (13 sts)
Row 6: P5, p2tog, p6 (12 sts)
Why not try this stitch pattern and make your own Beekeeper Shawl
Long Garter Stitch
This stitch pattern is simple to work and creates a lovely airy, lacy fabric - without the need to work any lace stitches :)
The pattern is worked over 2 rows. On the RS row the yarn is wrapped around the needle and on the WS row these wraps are dropped off.
In this tutorial I have cast on 12 stitches and I have knit 2 rows of knit stitches in between each pattern repeat. I knit the first and last stitch of each row
Row 1 - Right side row

Step 1: Knit 1
Step 2: Insert the right hand needle into the next stitch and wrap the yarn around as if to knit, but do not pull a stitch through. Instead wrap the yarn around the needle twice more before pulling the stitch through
Repeat step 2 until you get to the last stitch
Step 3: Knit 1
You should have 3 loops around the needle for every knit stitch worked in row
Row 2 - Wrong side row
Step 1: Knit 1
Step 2: Insert the right hand needle into the front leg of the next stitch. Knit this stitch pulling the extra wraps off the left hand needle as you do so
Repeat step 2 until you get to the last stitch
Step 3: Knit 1
Handy hint: As the pattern is reversible you may find it handy to use a removable maker to mark the right side of the work
You can also alter the length of the long stitch by changing the number of wraps you make around the needle on the right side row
The long garter stitch is used in the Easy Street Shawl pattern