

There is a fantastic new yarn event happening in Welwyn Garden City in November - 'Wool-In Garden City'. From Monday 18th to Saturday 23rd November you can visit the free entry Pop Up Shop in the Dessert Kitchen shop. Here you will find a selection of beautiful hand dyed yarns, British...
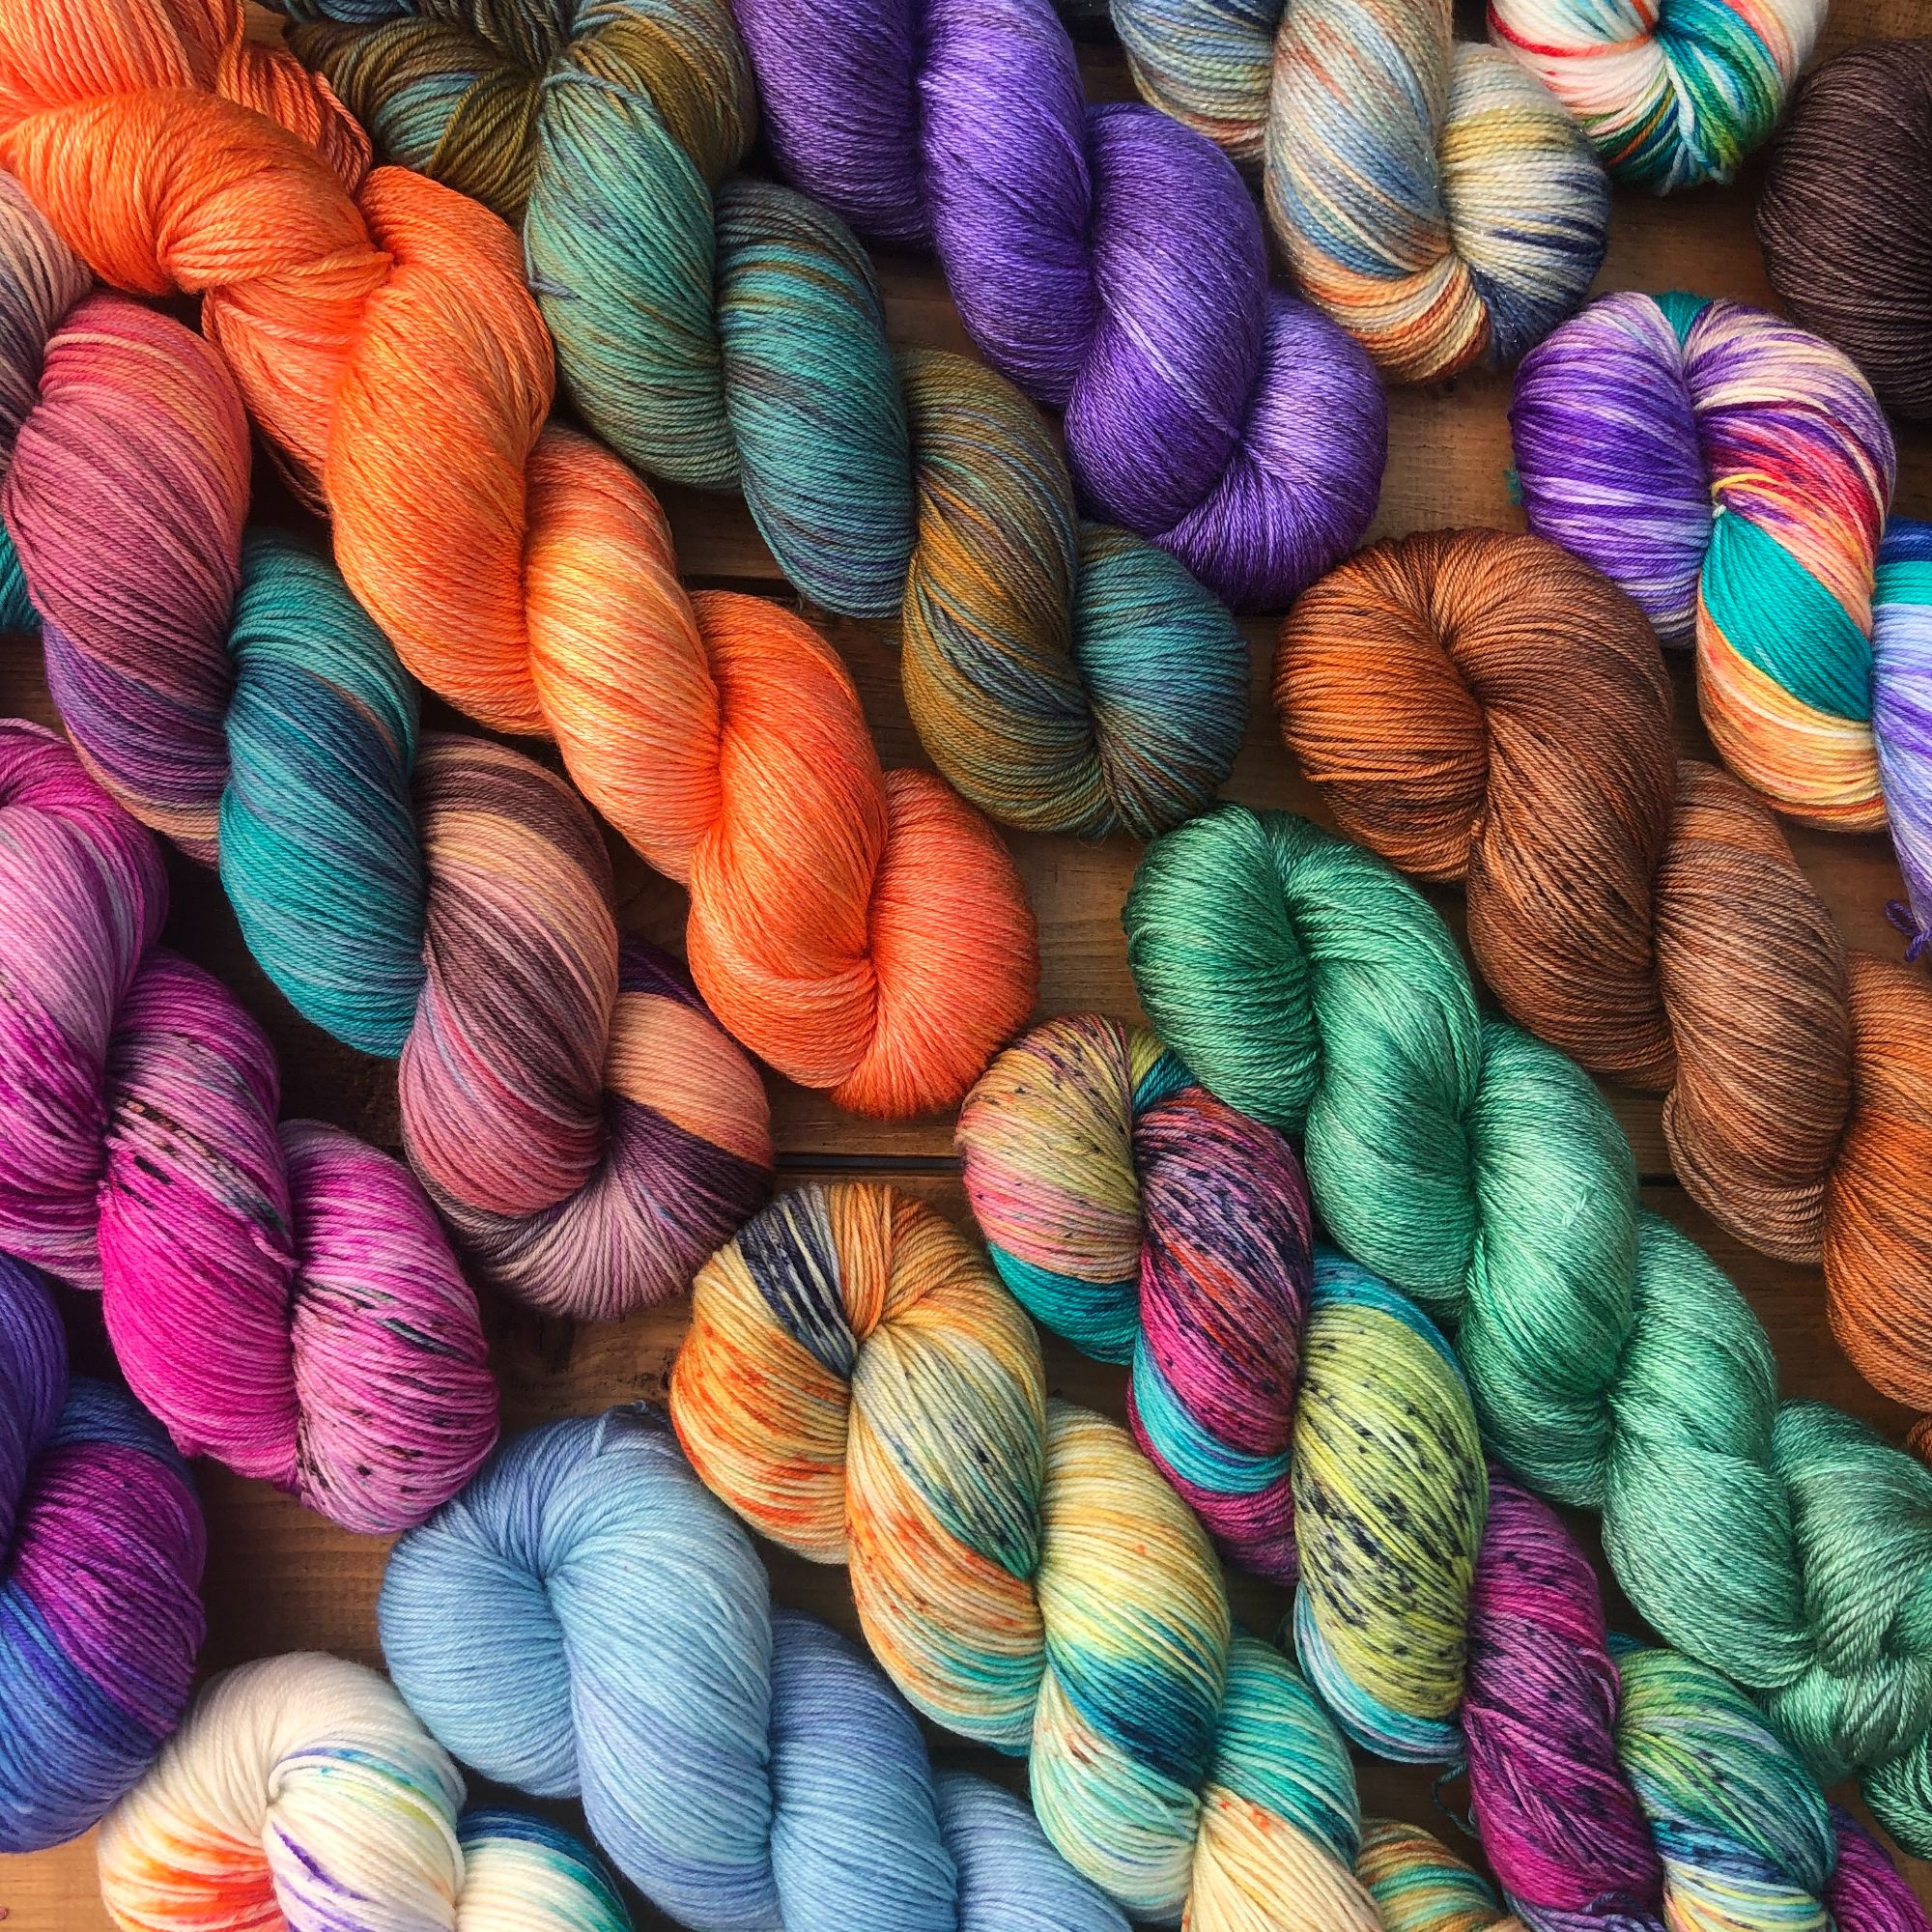
As a new knitter or crocheter it can be quite overwhelming when faced with the sheer amount of yarn choices available for your projects. So what makes hand-dyed yarn so special and is it really worth the extra cost? Hand-dyed yarn is exactly that – Dyed by Hand, meaning that each skein is...